
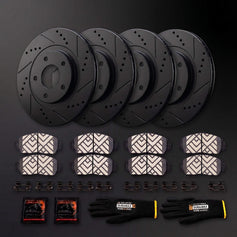
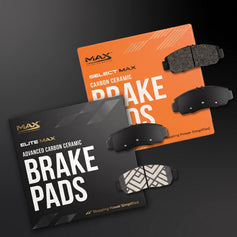

Installing your own brakes is a huge win — saving money, building skill, and boosting confidence. But even seasoned DIYers hit speed bumps if they're not careful.
Here's a honest guide to the most common brake installation mistakes and exactly how to avoid them, so your next brake job feels professional, not painful.
1. Not Cleaning New Rotors Before Installation
The Mistake:
Bolting on rotors without checking if they need cleaning.
The Problem:
-
Non-coated rotors come with an oil film that must be cleaned off before installation.
-
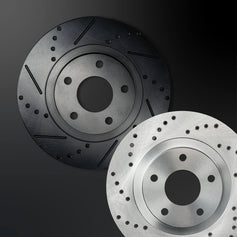
Coated Max Advanced Brake rotors like Geomet-coated ComfortMax, StyleMax, and PerformanceMax options do not have oil coatings and are install-ready.
-
Mistaking one for the other can cause unnecessary work or worse, contaminate your brake pads if an oily rotor is left untreated.
How to Avoid It:
-
If uncoated: wipe thoroughly with brake cleaner and a lint-free cloth.
-
If coated: install directly. no cleaning needed.
Pro Tip: Max Advanced Brakes’ StyleMax, ComfortMax and PerformanceMax rotors are pre-coated to save you prep time.
2. Forgetting to Apply Anti-Seize on Hub Faces
The Mistake:
Installing brakes and rotors directly onto a rusty, dirty hub.
The Problem:
-
Rust builds up behind the rotor over time, leading to vibration, uneven rotor wear, and difficulty removing rotors during the next service.
How to Avoid It:
-
Wire-brush the hub face clean before installing new brake parts.
-
Apply a light coating of anti-seize to prevent future sticking, but keep it well away from all braking surfaces.
3. Not Compressing the Caliper Piston Properly
The Mistake:
Forcing the caliper back onto new, thicker brake pads without resetting the piston.
The Problem:
-
This stresses the caliper bolts, misaligns the brake pads, and can cause uneven braking or immediate drag on your brakes and rotors.
How to Avoid It:
-
Always use a C-clamp or caliper compression tool to gently push the piston fully back into the caliper housing before reinstallation.
4. Over-Tightening or Under-Tightening Bolts
The Mistake:
Using "feel" instead of a torque wrench.
The Problem:
-
Over-tightening = snapped bolts, warped brake parts.
-
Under-tightening = loose calipers, unsafe braking.
How to Avoid It:
-
Always torque to manufacturer specs using a calibrated torque wrench.
-
Double-check torque values for caliper brackets and wheel lug nuts. They are different and matter equally for safe brakes and rotors performance.
5. Skipping Bedding-In of New Brake Pads and Rotors
The Mistake:
Skipping the critical break-in process after installing new brake pads and rotors.
The Problem:
-
Brake pads and rotors must form a proper transfer layer under controlled heat cycles. Skipping bedding can cause uneven friction surfaces, vibration, and reduced braking power.
How to Avoid It:
-
Follow the official Max Advanced Brakes Break-In Procedure included with every brake kit.
-
Typically involves a series of controlled moderate stops to gradually build optimal pad-to-rotor contact.
Pro Tip: Never do hard emergency stops immediately after a fresh install. Let your brake pads and rotors bed in properly first for maximum performance and longevity.
Final Thought: Good Installations Are Built on Small Details
Brakes aren't complicated, but they are unforgiving if you cut corners.
Master these critical details and every brake job you do will feel cleaner, smoother, and more professional.
Own the details. Own the drive. Stay MAX.