
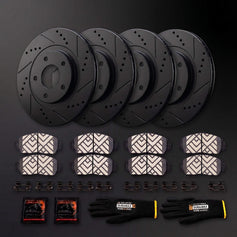
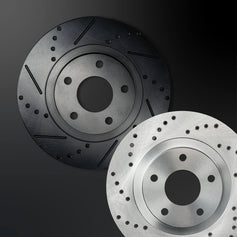
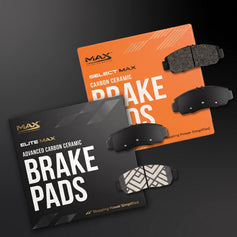

Installing your new brake kit is a manageable task for many DIYers, but precision matters; following the correct steps and torque specs is essential for safe braking performance and long pad and rotor life.
This quick overview covers general brake component replacement for front or rear brakes on most cars, SUVs, and light trucks from a 2022 F150 to a Hyundai Kona and everything in between. (Always consult your vehicle's service manual for exact torque specs and procedures.)
What You'll Need
-
Jack and Jack Stands (Rated for Vehicle Weight)
-
Socket Set and Ratchet
-
Torque Wrench (10–150 ft-lbs range)
-
C-Clamp or Brake Caliper Compression Tool
-
Brake Cleaner
-
Wire Brush
-
Bungee Cord or Zip Ties (to hold caliper)
-
Anti-Seize Compound and High-Temperature Brake Grease
-
New Max Advanced Brake Kit (Brake Pads + Rotors + Hardware)
Overview
1. Prepare Your Workspace
-
Park on a flat, level surface and engage the parking brake.
-
Loosen (but don't remove) lug nuts before lifting the vehicle.
-
Lift the vehicle securely and support it with jack stands. Never rely on a jack alone.
2. Remove Old Components
-
Remove the wheel and set it aside.
-
Remove the caliper bolts and carefully slide off the caliper. Secure it with a bungee cord. Never let it hang from the brake hose.
-
Slide out the old brake pads.
-
Remove the caliper bracket (if needed) to access and remove the old rotor
3. Prepare New Parts
-
Clean the new rotors with brake cleaner to remove any protective coating residue. Max Advanced Brakes' Geomet-coated rotors are install-ready; no cleaning needed, saving you time and effort.
-
Wire-brush the hub surface clean and apply a light layer of anti-seize compound to prevent rotor sticking.
4. Install New Rotors and Hardware
-
Install the new rotor onto the hub and secure temporarily with a lug nut to hold it flat.
-
Install new stainless steel hardware clips onto the caliper bracket if provided.
5. Install New Brake Pads
-
Apply high-temp brake grease sparingly to pad contact points (not the friction surface).
-
Compress the caliper piston fully using a C-clamp or brake tool.
-
Install the new brake pads into the caliper bracket.
6. Reinstall Caliper and Wheel
-
Reinstall the caliper over the new pads and tighten caliper bolts to the manufacturer's torque spec.
-
Reinstall the wheel, tighten lug nuts by hand in a crisscross pattern.
-
Lower the vehicle and torque the lug nuts to specification.
Final Steps: Bed-In Your New Brakes
-
Gently pump the brake pedal before moving to seat the brake pads against the rotors.
-
Perform Max Advanced Brakes' official bedding-in procedure to create an even transfer layer and maximize performance, a step that many drivers skip but makes a real difference in brakes and rotors longevity.
Final Thought: Install Right, Drive Strong
A professional-quality brake job starts with high-quality brake parts and a careful installation process. Trust Max Advanced Brakes for everything you need to brake smarter, safer, and stronger every time you drive.